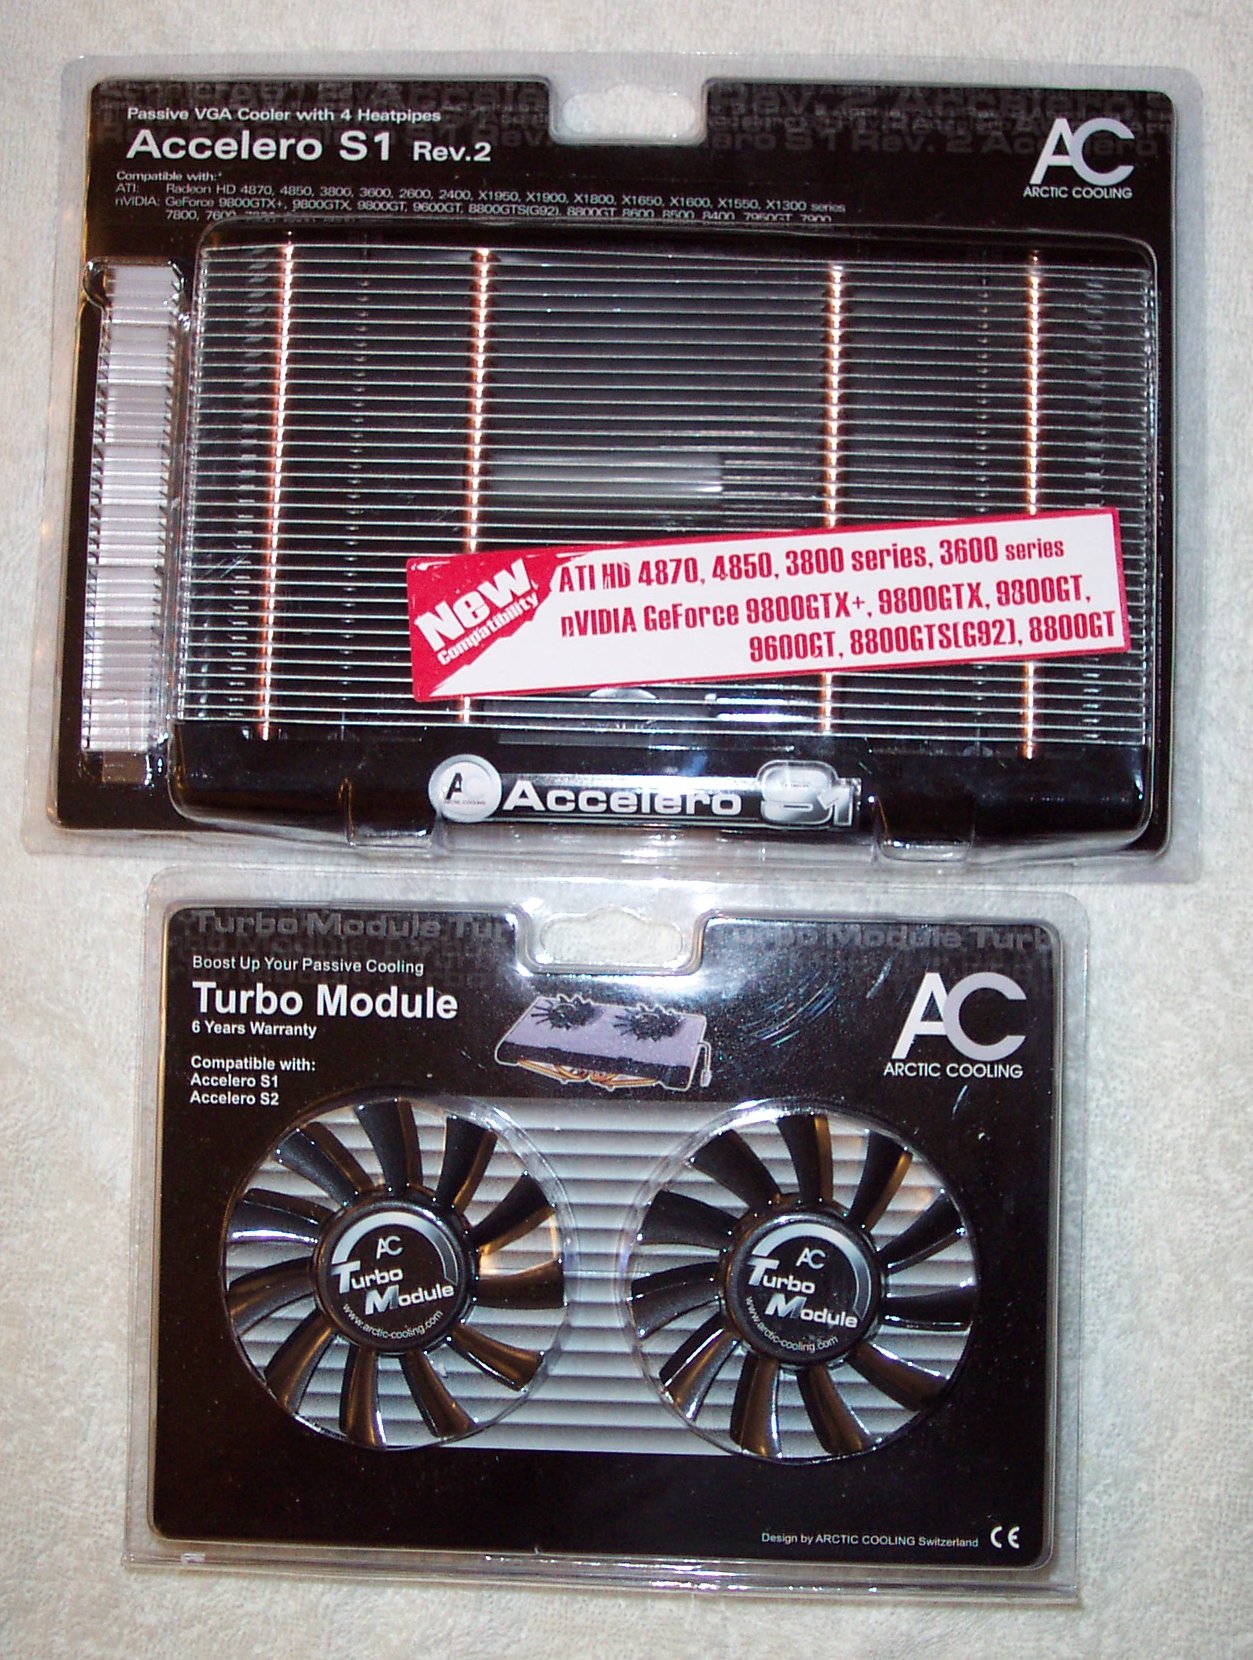
Arctic Cooling Accelero S1 Rev. 2 VGA Cooler
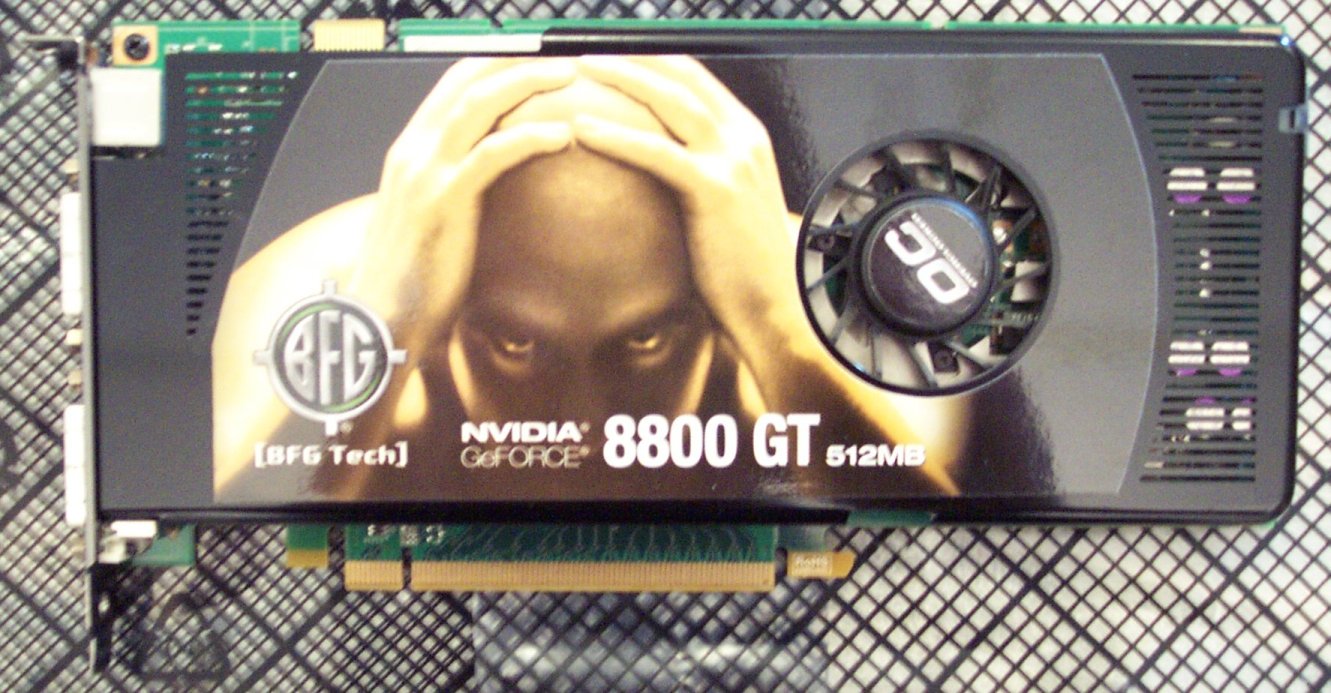
After I upgraded from Windows XP to Vista Ultimate 64-bit, I happened to try out the latest Nvidia System Monitor tool. I set up the memory usage, CPU1 and CPU2 usage and the temps for CPU 1 & 2 and the GPU. And I looked at the GPU temperature and nearly excreted a rectangular, clay-based, building block. The idle temperature of my BFG 8800 GT OC was hovering at 70-75°C. I repeat: idle temperature.

The temperatures & utilization with stock GPU cooling. 73°C @ idle!
That couldn't be right, could it? I tried a different tool and got the same result. Could this be the reason why some games seemed to cause the GPU fan to go to 100% and just stay there? I wasn't having any problems with the graphics card, but that temperature just can't be good. This card is factory overclocked, so I would expect it to run a bit warm, but not that warm. I tried running Fallout 3 for about 25 minutes and tabbed out to look at my GPU temp. 88°C! Shouldn't that cause the thing to melt?
Call to Action
It was pretty obvious to me that I needed a VGA cooler. The question then was which one to get. There were a number to choose from, and they all seemed pretty competent. After a bit of research, I settled on the Arctic Cooling Accelero S1 Rev 2. It had a good price and previous buyers seemed pretty happy with the result, so I bought one from Newegg.com for about $25. This cooler is intended to be a silent cooler (with no fan), but my graphics card was running so hot, I opted for the add-on pair of fans for another $11.
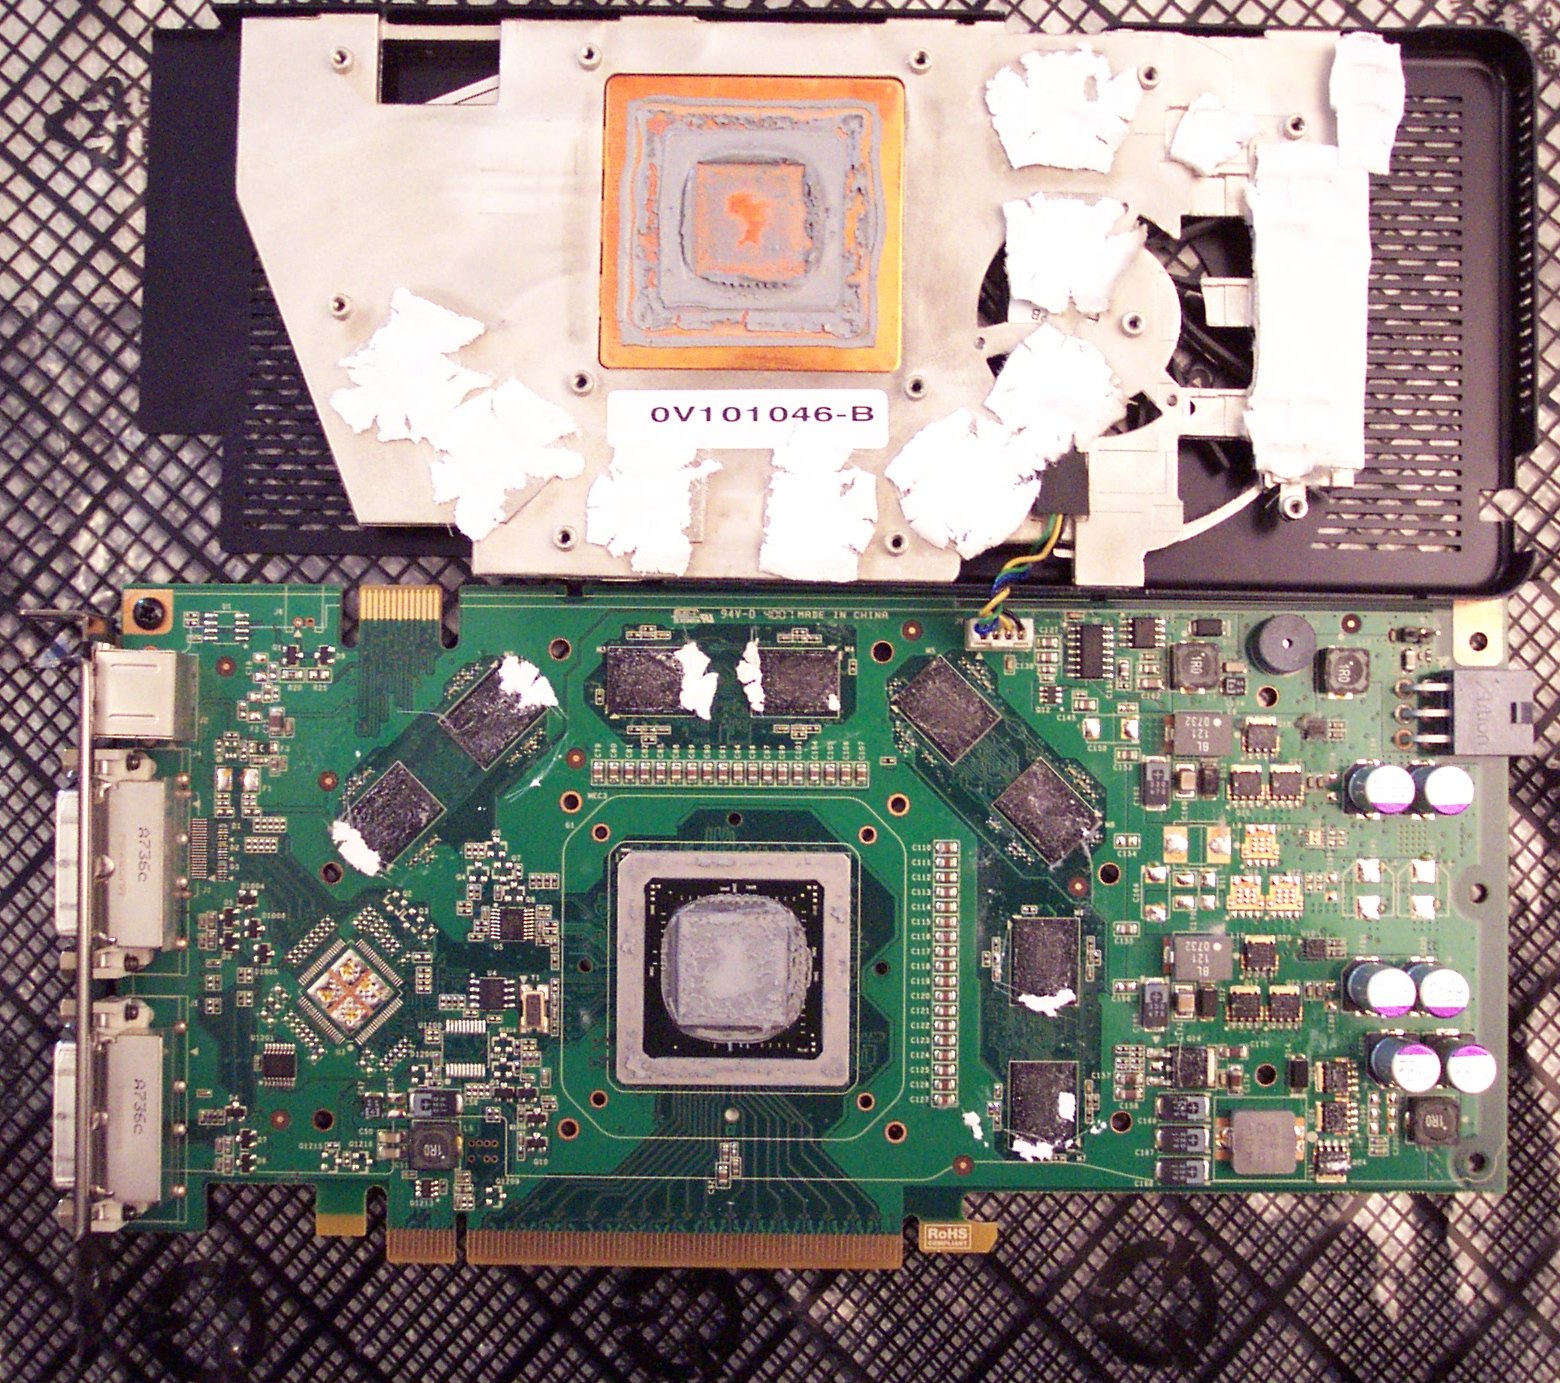
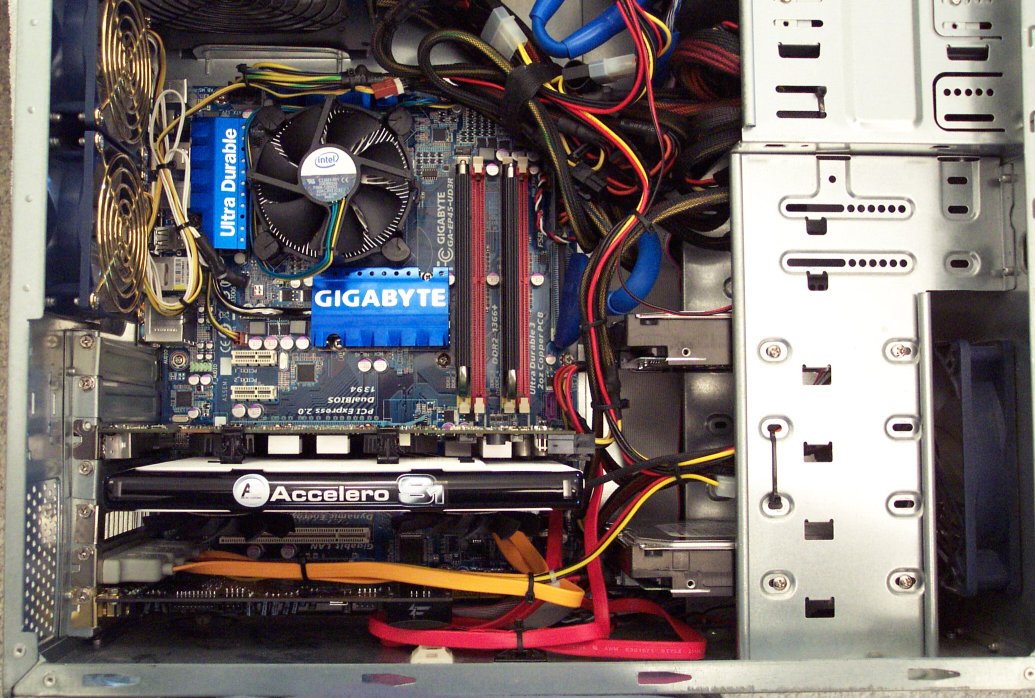
The first step of course is to remove the graphics card from the system. Looking at the card from the top here, it's obvious in hindsight that the little cooler on there just wasn't enough. Most of the video cards of the era have two-slot-wide coolers. After removing the card from the system to work on it, I finally got the meaning of the graphic of the bald-headed guy holding his head with both hands. “If this thing gets any hotter, it will explode!”
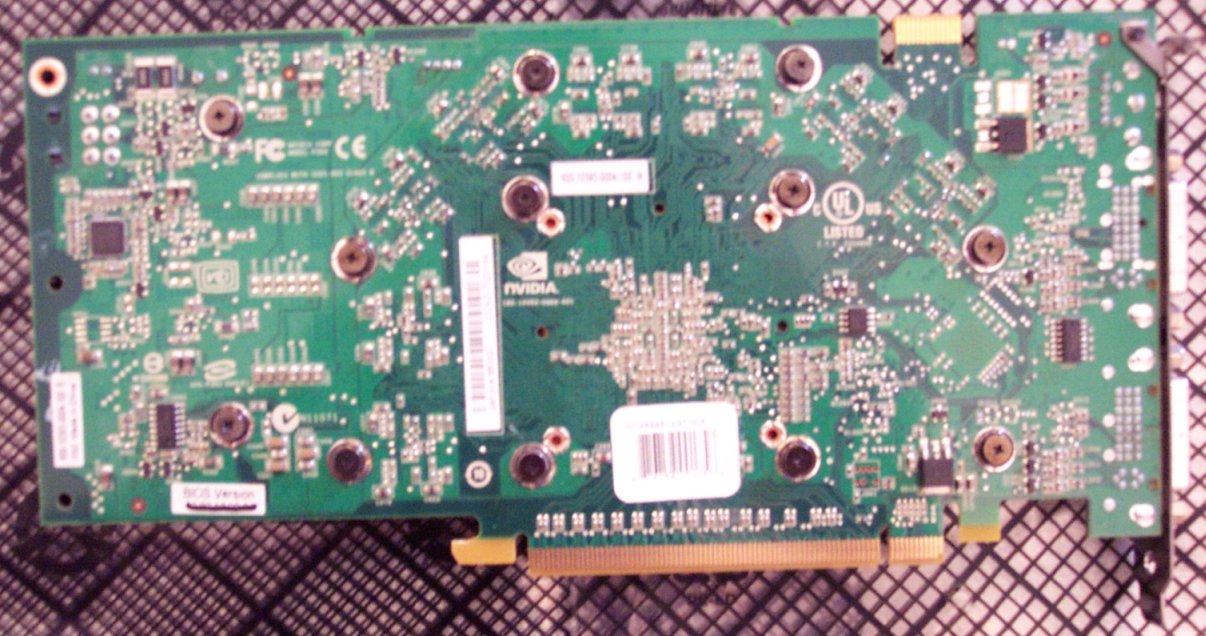
Now, I need to remove the original cooler. Just unscrew the .. 12 .. (Yep. Count 'em. Twelve.) screws that hold it in place on the backside of the card. I guess they didn't want the cooler to fall off. If they had just made it more effective rather than well fastened maybe I wouldn't have needed to do this. Even after the screws are all out, the cooler is held tightly to the card because of all the thermal paste and (sticky) thermal tape. It took a bit of prying and twisting the two halves slightly, but the two did come apart. Disconnecting the wire from the cooler's fan is the last part of removing the stock cooler.
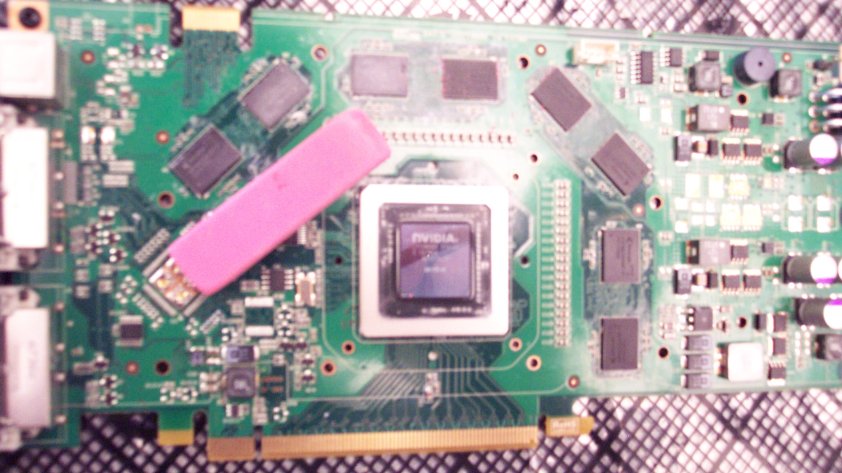
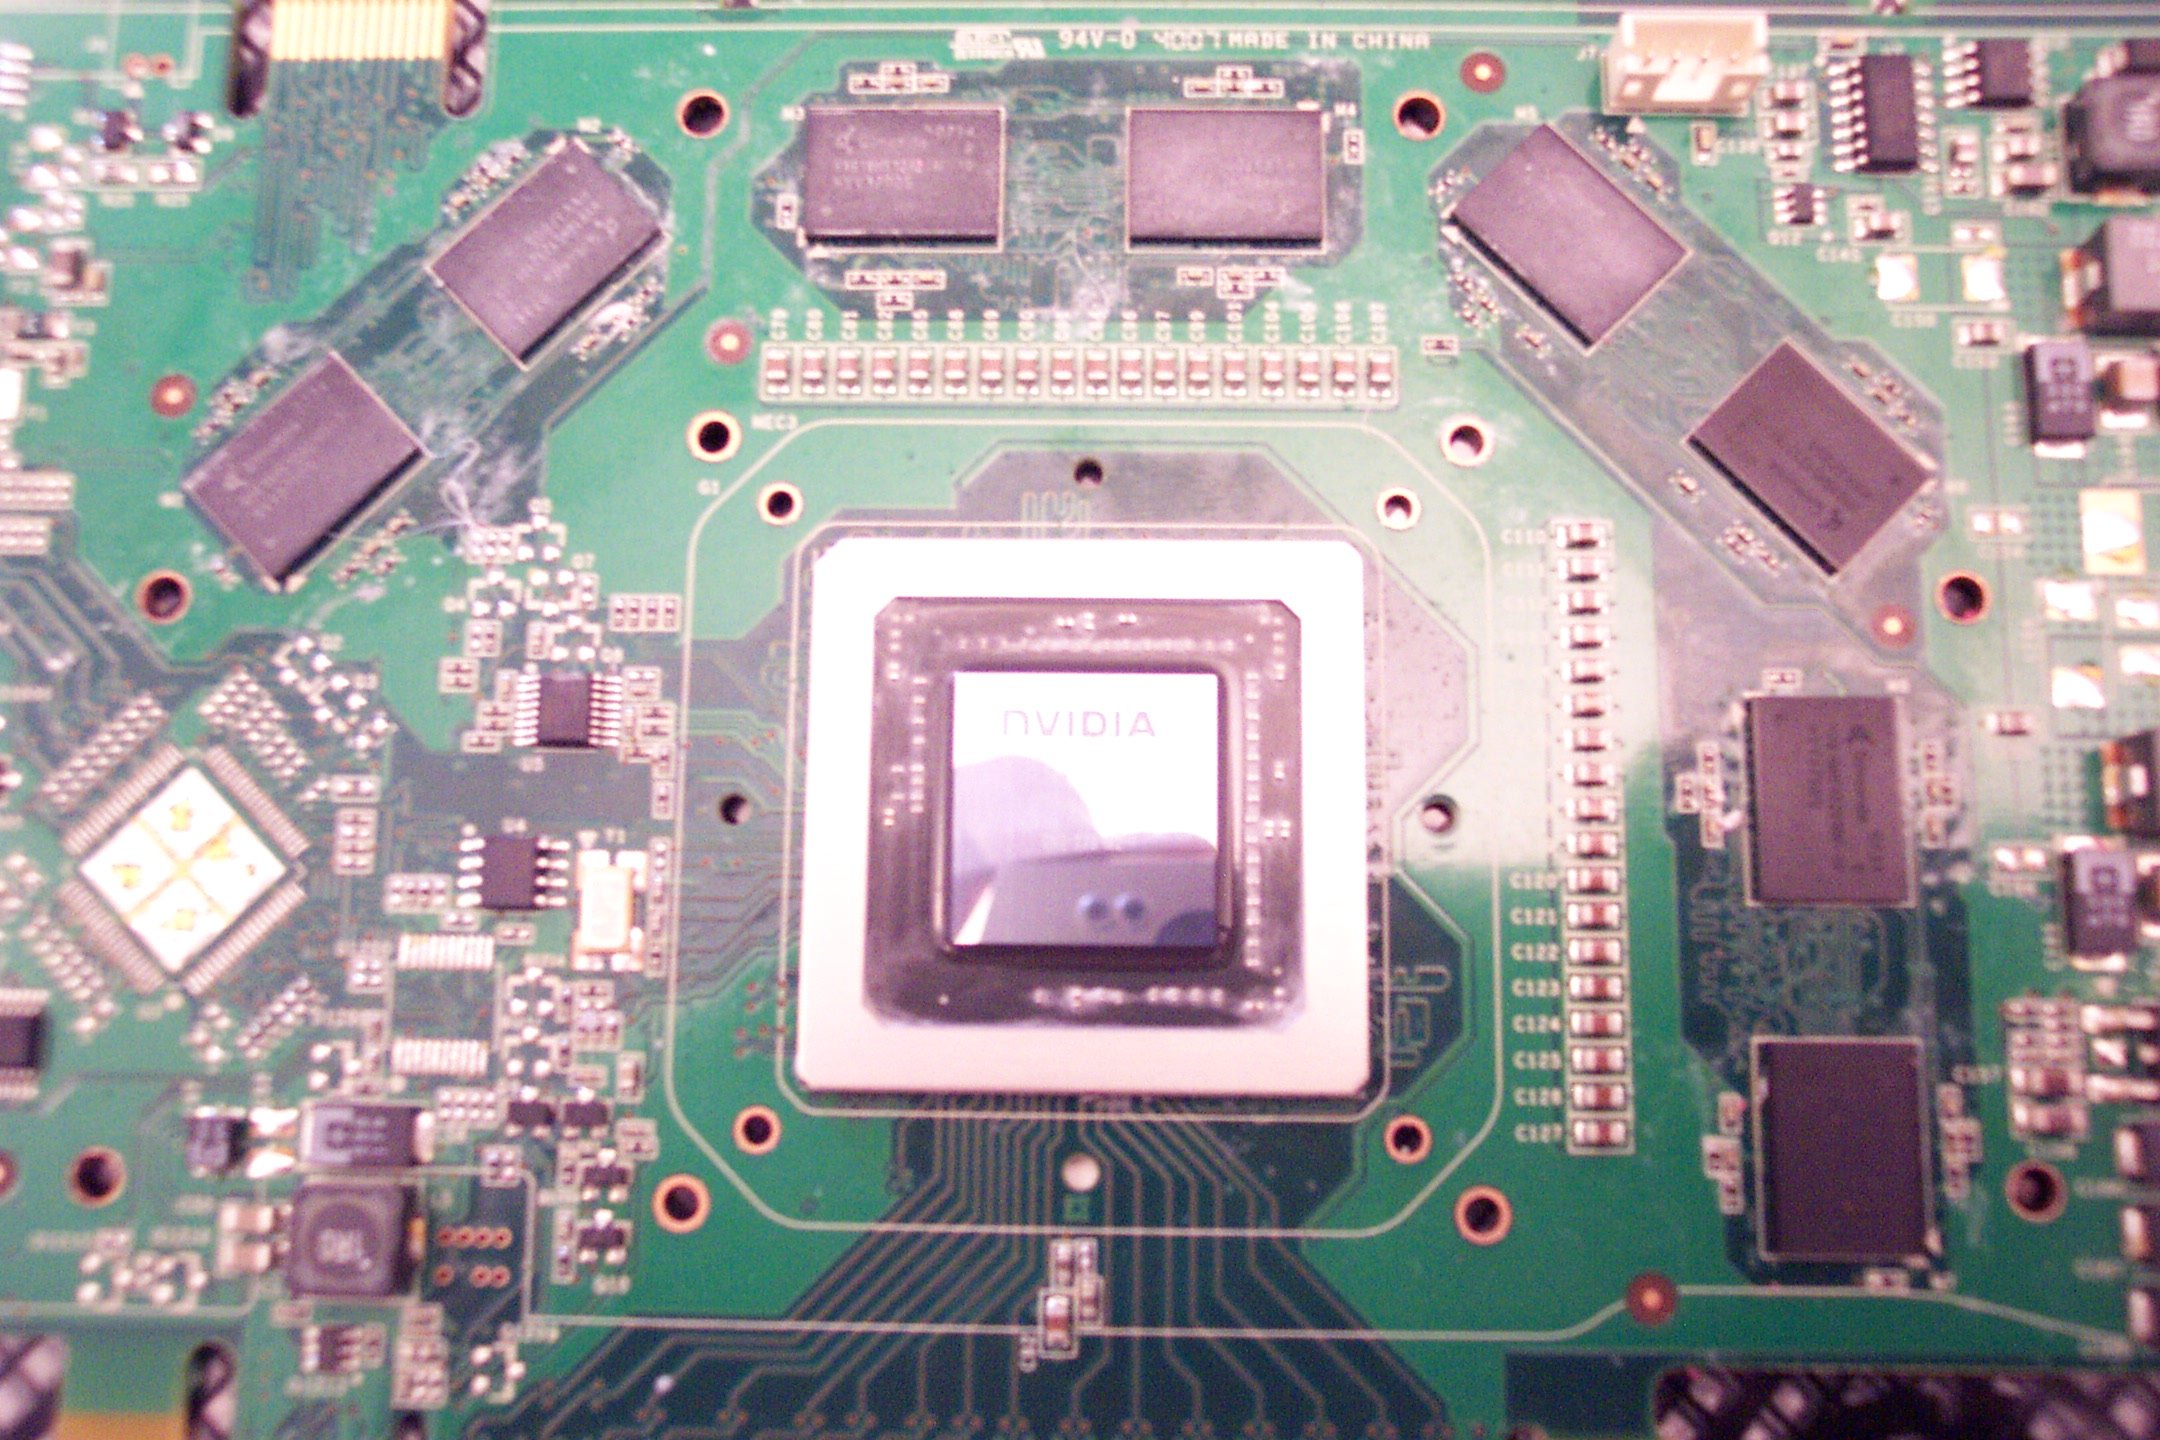
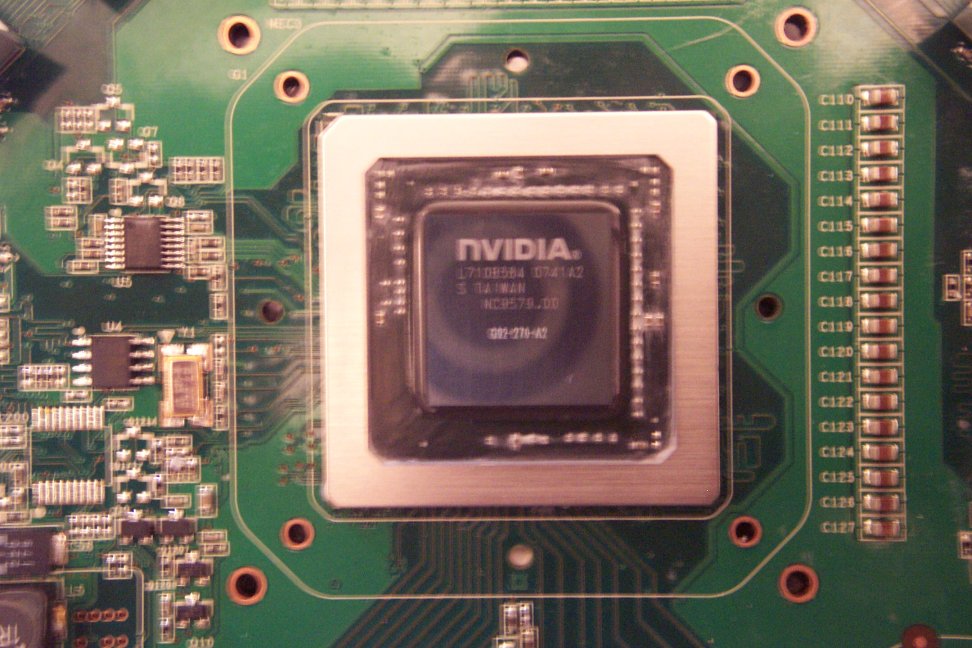
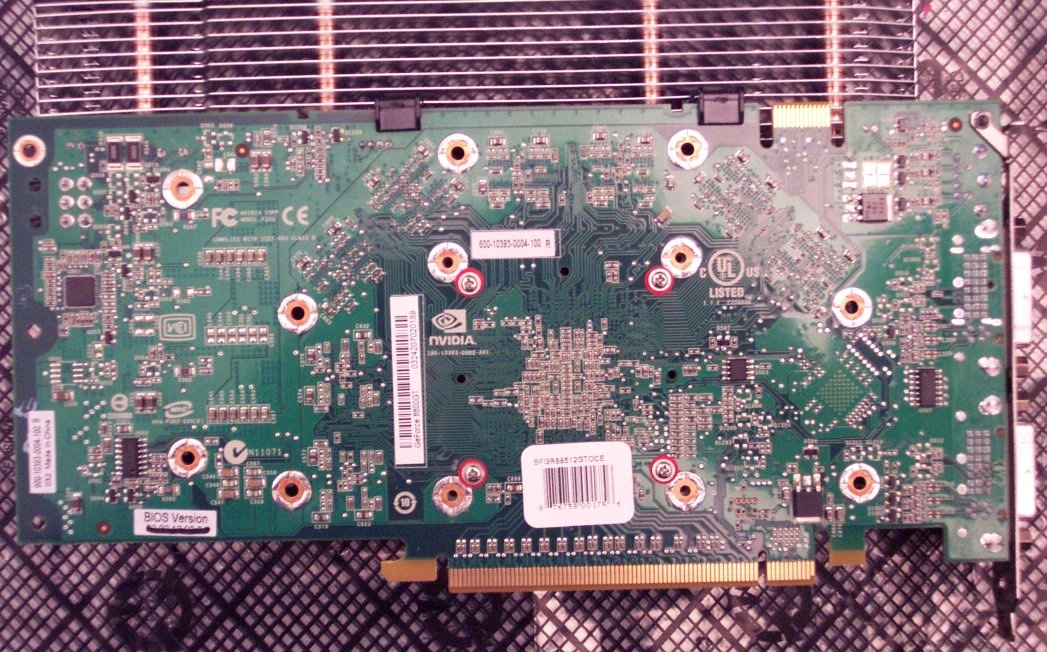
The next step is to clean off all the thermal paste from the GPU, memory and voltage regulator chips. This is done using a soft wipe and isopropyl alcohol with a purity of at least 90% (It's available in most drug stores, but often not found in most groceries.) Handi Wipes® are very good for this, but decent paper towels will do. Put the alcohol on the cloth - not on the card directly. Clean with a circular motion until as much paste can be removed is gone. An Xacto knife with a sharp point can (gently) be used to remove the paste from the corners. There may still be some residue left on the memory chips left behind by the adhesive of the thermal tape. This is where the trusty Pink Pearl eraser comes in. Gently rub the surface of the chips (the memory and voltage regulators in my case) until they loose any slickness. (In the second image below, the three memory chips to the right of the GPU have been “erased” of remaining adhesive.) Clean the chips one last time with alcohol and we're good to go.

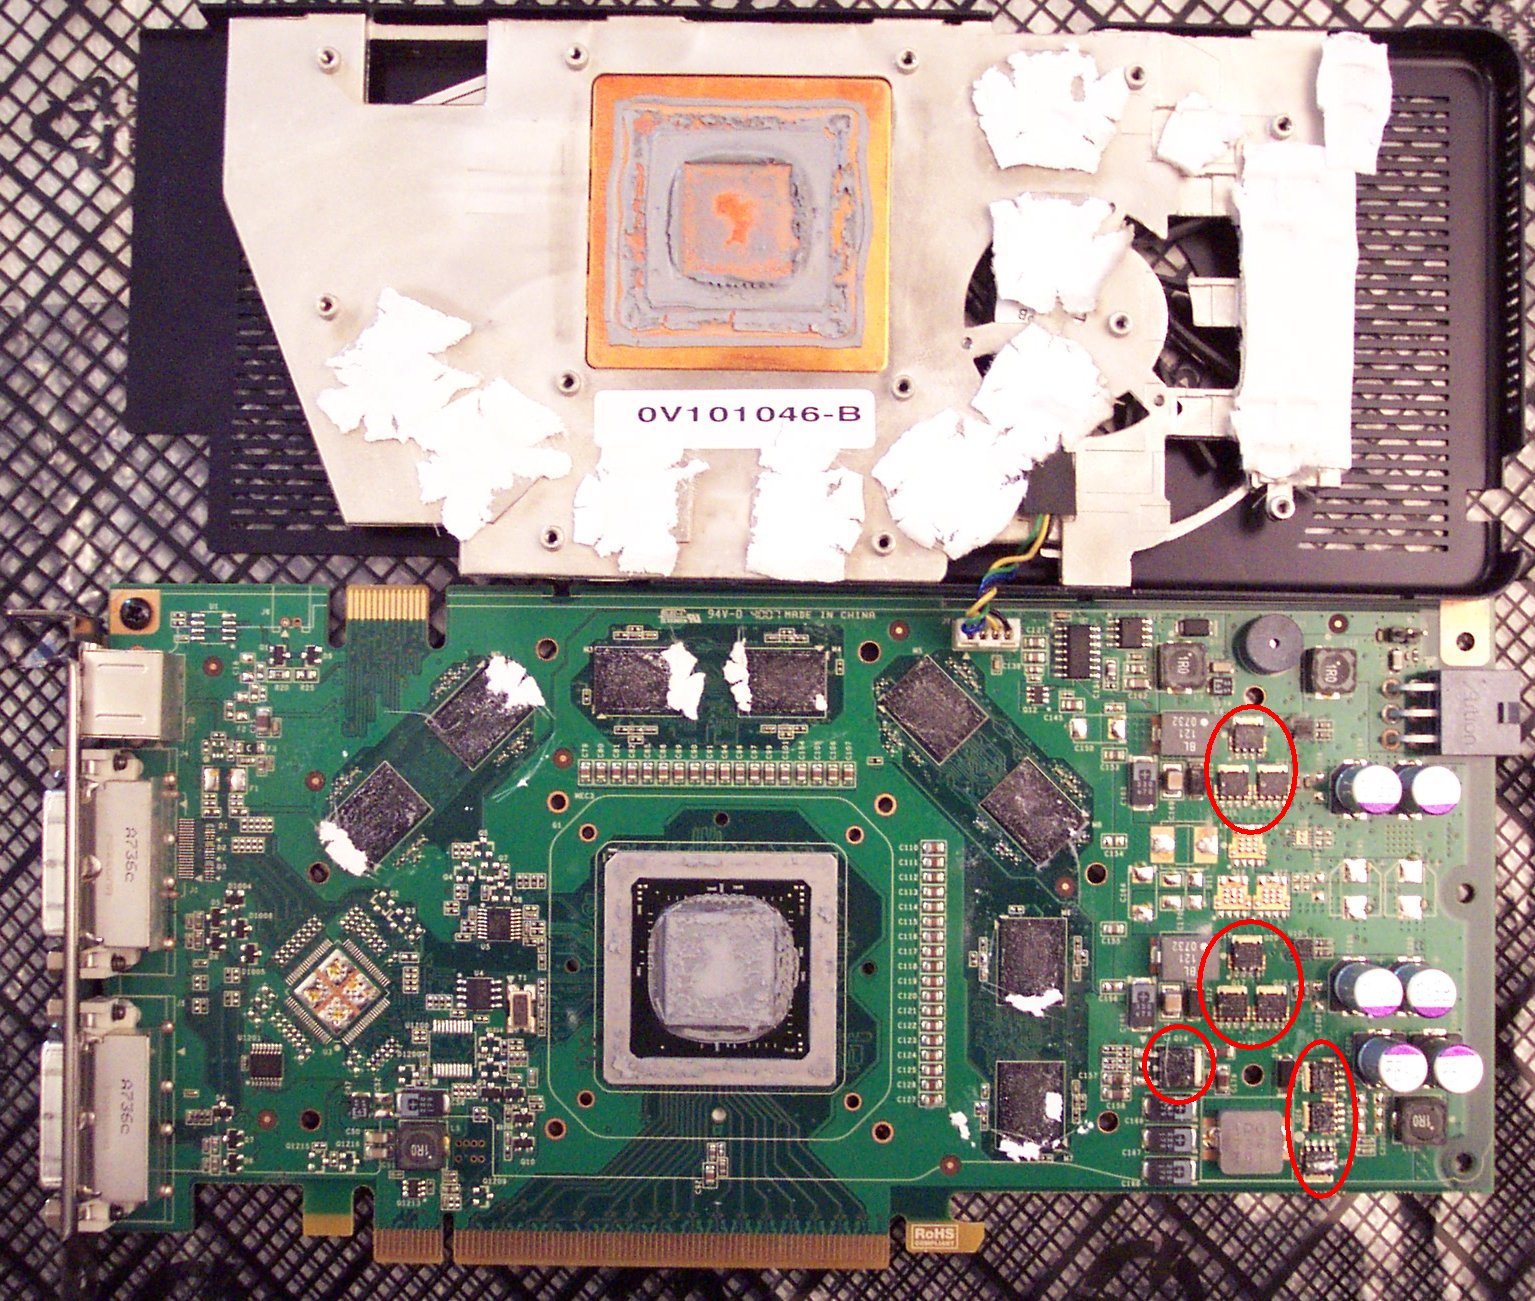
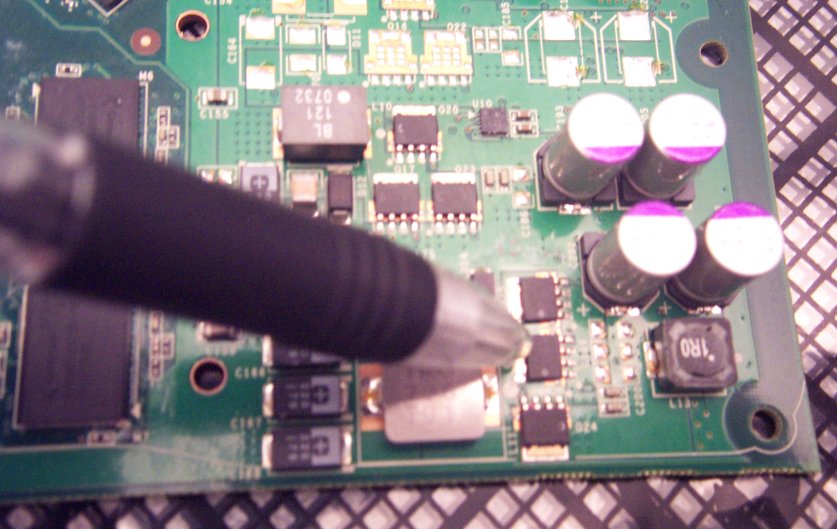
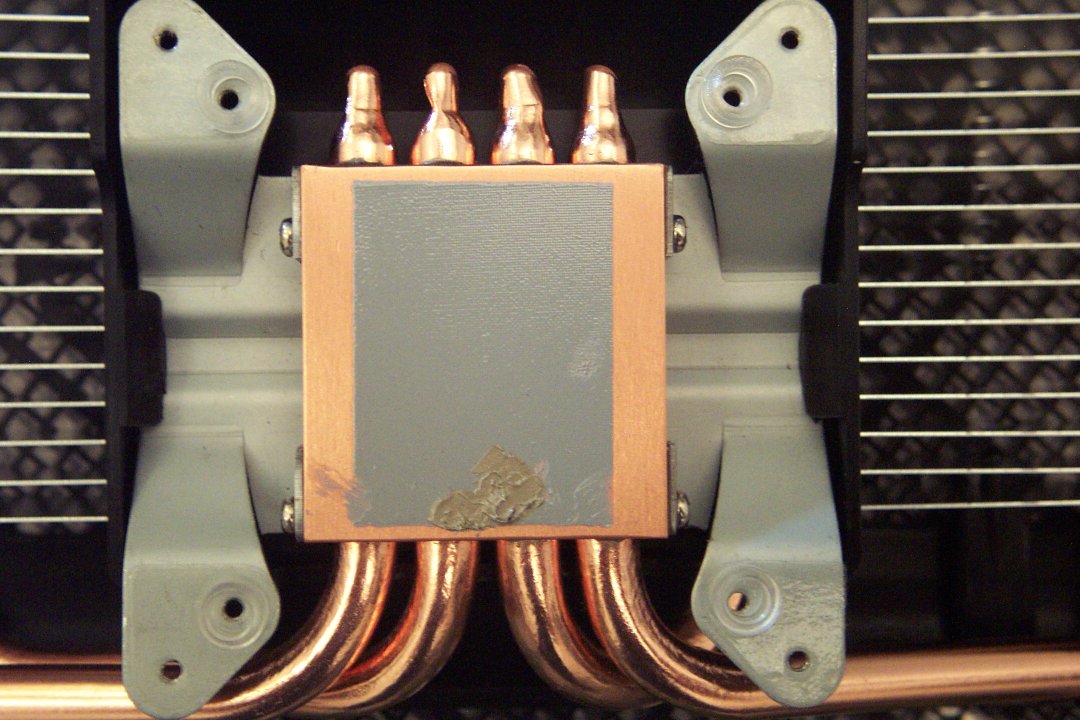
The Arctic Cooling Accelero S1 Rev 2 also includes a set of self-adhesive heat sinks for the memory and the voltage regulators. The memory we cleaned above, but we also need to clean the voltage regulators. How to we tell which chips are the voltage regulators? In my case, it was pretty simple. Looking at the cooler that I removed, it is easy to see which chips the manufacturer thought were important enough to but thermal tape on. Using that as a guide, the first image below shows the chips to receive new heatsinks outlined in red. Using an Xacto knife, we peel the backing from one of the voltage regulator heatsinks. We do the same for the memory heatsinks as well and press each of them into place. When we're done, we have a card full of heatsinks like the one in the last picture below.
Now, it's time to bolt on the new GPU heatsink. (Picture 1) Both the card and the Accelero S1 have two sets of holes for screwing the GPU heatsink to the motherboard. We'll use the inner set. Picture 2) The first task is to remove the double stick tape backing and affix the four rubber/plastic spacers to the bottom of the heatsink. ((You do not see where I had to patch the thermal paste on the heatsink after scratching it during a test fit.) (Picture 3) We then fasten the four screws with an even number of turns of the screwdriver on each screw to maintain an even, snug fit. (Picture 4) The final step is to thread two plastic clips through the fins on the Accelero S1 so that they line up with and clip to the top of the graphics card. These provide extra support to the cooler.
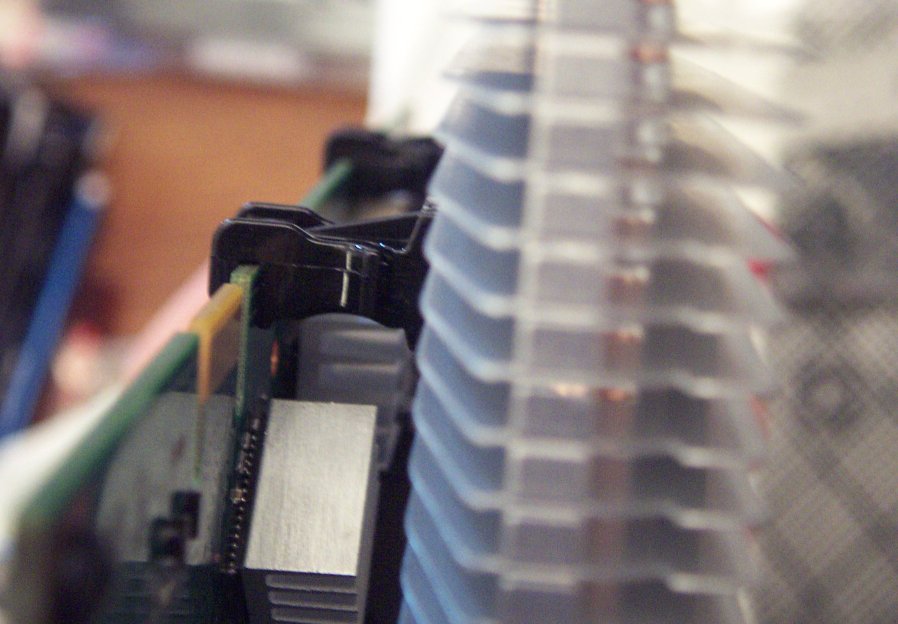
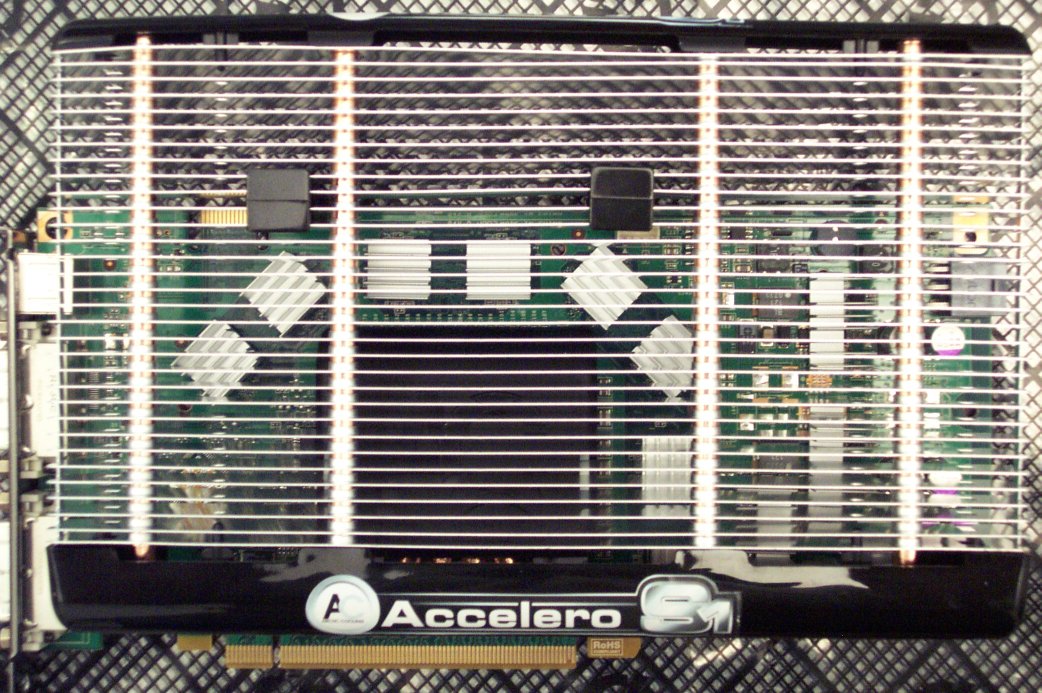
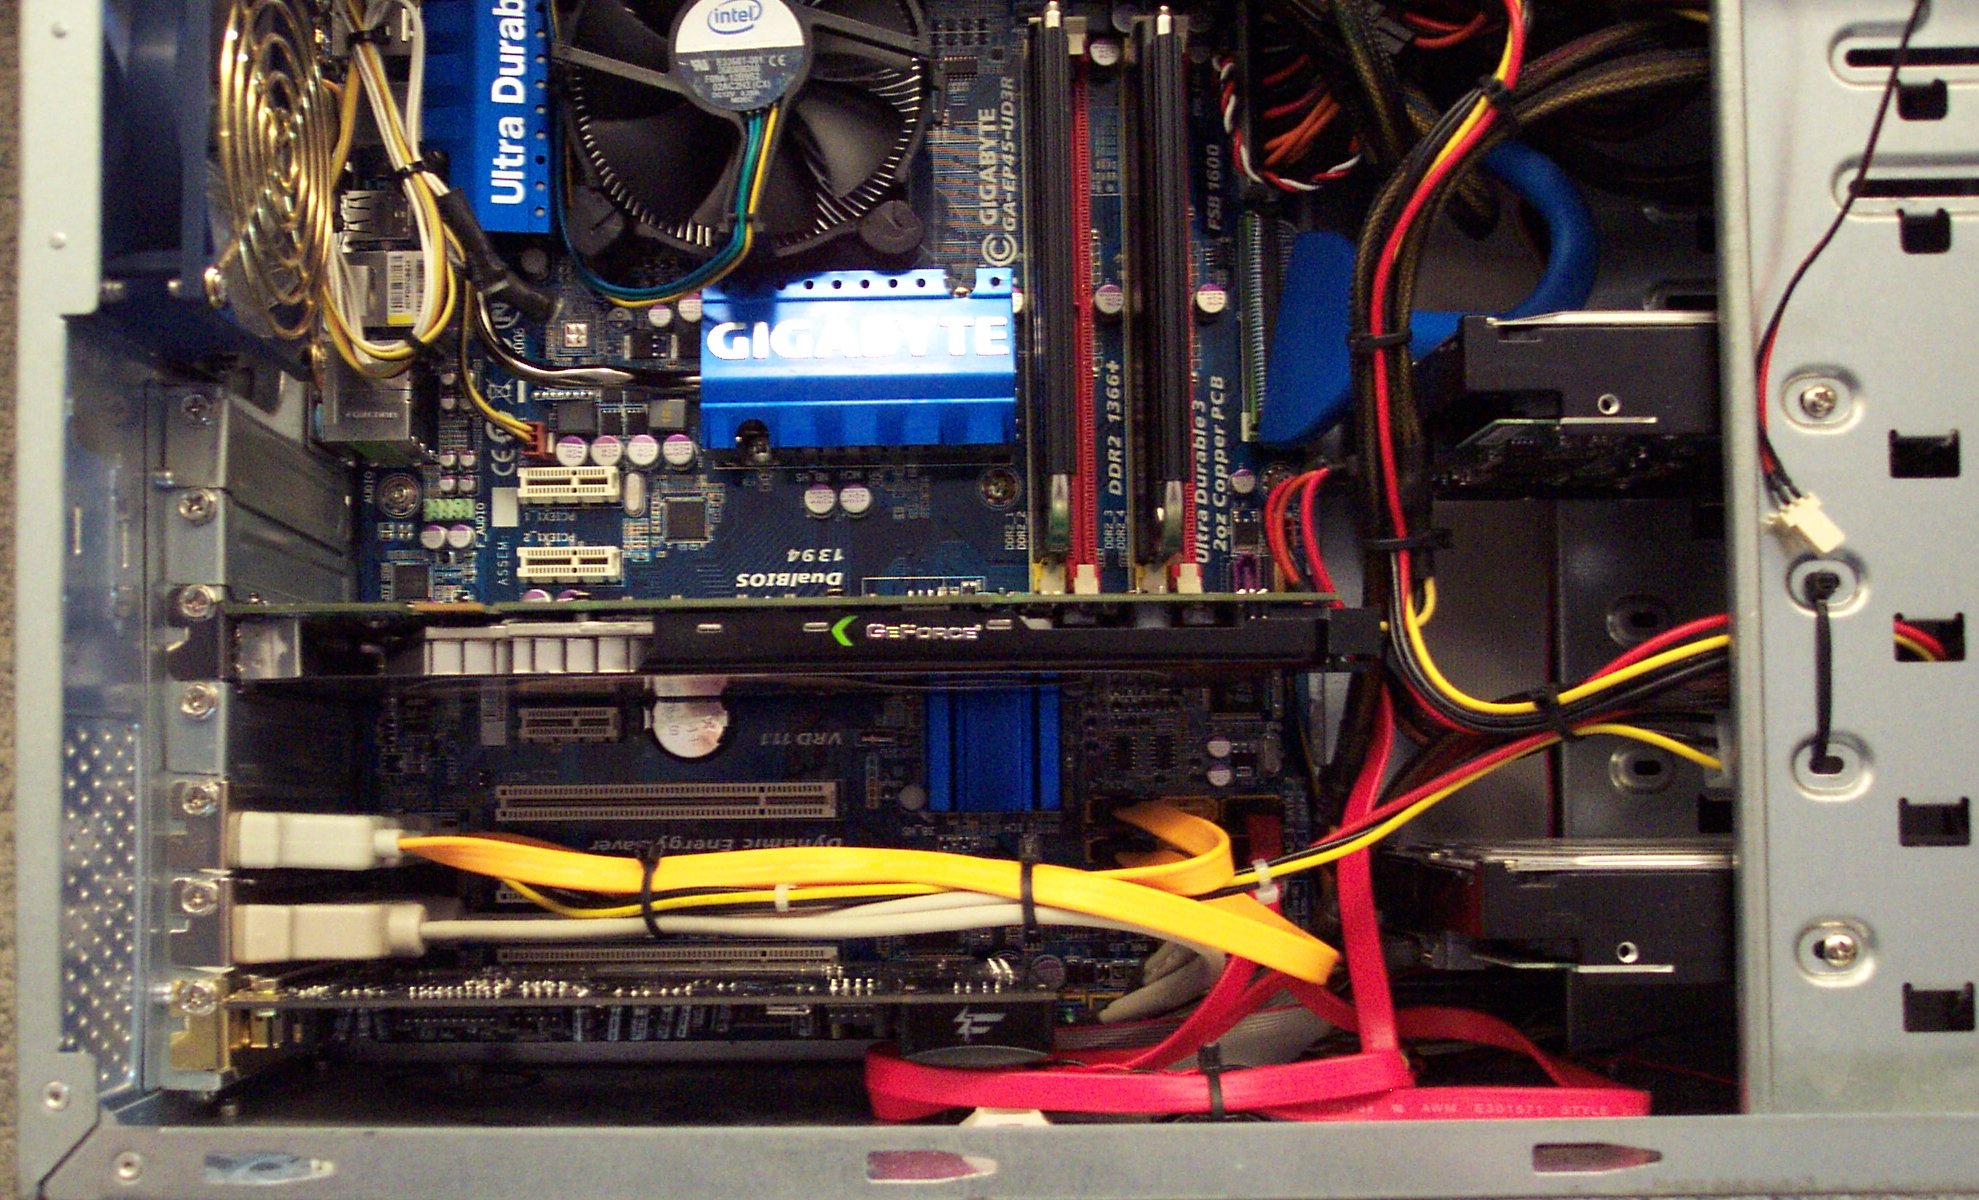
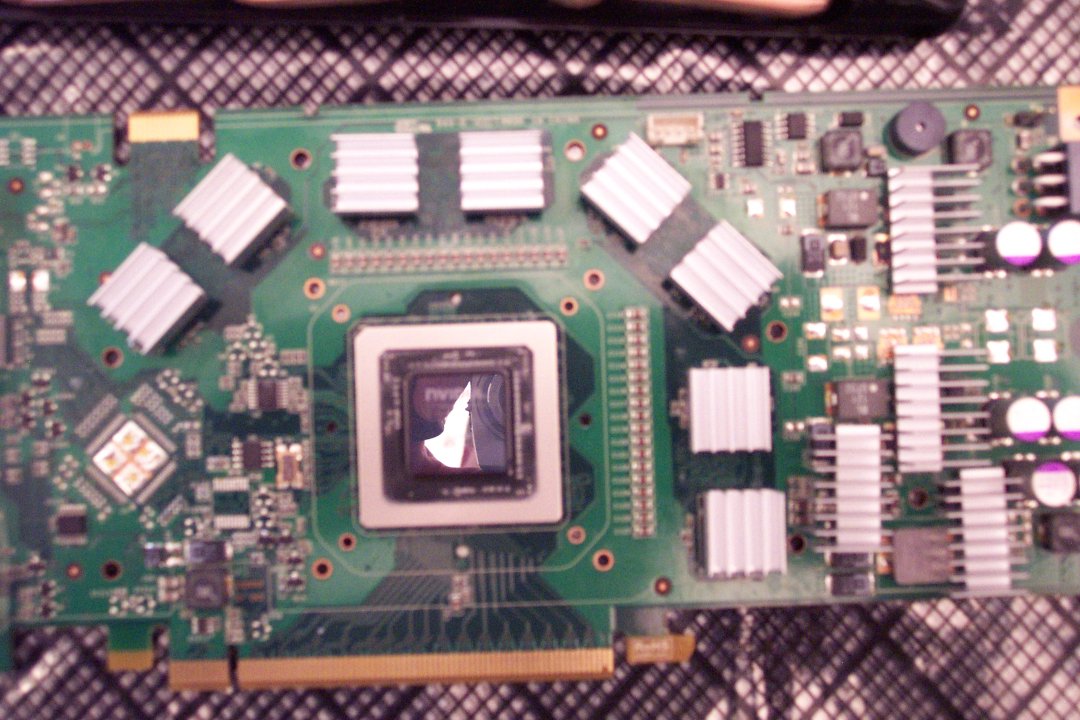
(Picture 1) All that's left is to clip on the dual fans and reinstall the new & improved graphics card. (Picture 2) The top view shows how much room the Accelero S1 takes up. It's two slots as a minimum and with the optional fans, it's three slots. In my case, it's not a big issue as I only have one other (PCI) card anyway, which is for my Creative Labs X-Fi Fatal1ty audio card.

So, the $10,000 question - well really the $40 question - “Was it worth it?” I think the numbers speak for themselves. The first temperature graph below is the idle temperature just a short while after booting up the machine. I let the temperature settle out, and this is where it settled. It's a full 30°C cooler than before. That's already a good sign. Next, I played Fallout 3 for a few hours, tabbed out and snapped another screen capture. It went up 5°C in three hours of game play. That's it. 5°. Just for good measure, I let it run all night to see if it stayed stable. Sure enough, the idle temperature was 42°C. I'm sure I didn't even need the optional fans. This could have been a completely quiet VGA cooler. But I paid for them, so in they go. I can't believe I waited a year to get this cooler. My suggestion to you is don't wait.

The temperatures just after installing the Accelero S1. 42°C @ idle! Amazing reduction.

The temperatures after three hours of Fallout 3. At 47°C, it's not even sweating.
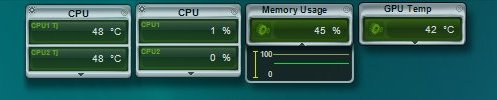
The temperatures after letting the system run all night. Again 42°C @ idle!
- Printer-friendly version
- Log in to post comments